How To
How to Make a Shield in Minecraft in 3 Fast Steps
- February 22, 2021
- Updated: July 2, 2025 at 4:12 AM
Have you started playing Minecraft and wondered how to defend your character from the monsters? Survival is key, and blocking against attacks will help you live longer. Here’s how to make a shield in Minecraft in 3 easy steps.
What you need before you start
Tools needed
1 x Crafting Table
Materials needed
1 x Iron Ore
6 x Wood Blocks
Time estimation
Immediate
How to Make a Shield in Minecraft
It’s fairly simple making a shield in Minecraft if you find the right resources. Let’s take a look at how.
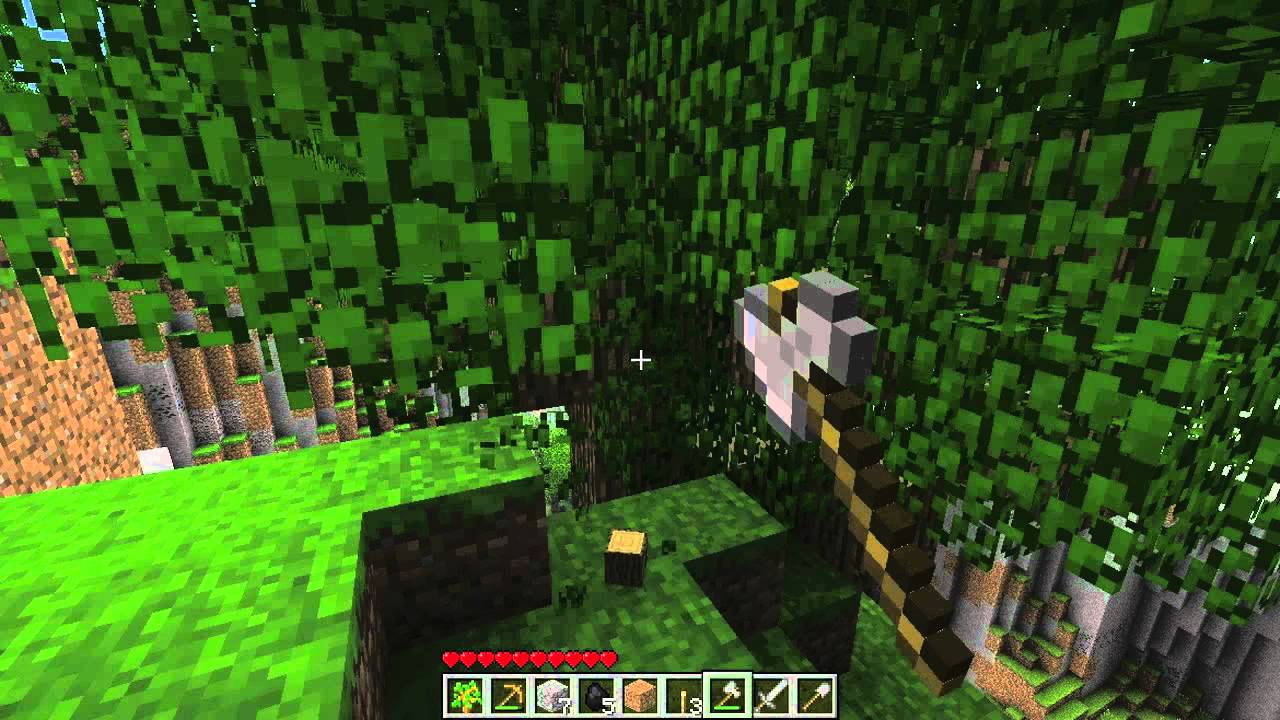
Step 1: Gather resources
You will need to gather six woodblocks. It doesn’t matter what kind of tree you harvest. Satisfy your inner Lumberjack and chop it down! Just don’t use your sword.
With Minecraft, you aren’t locked into one type of wood to craft the shield. If you’re feeling creative or your inner Lumberjack is still calling, mix up some wood blocks.
Next, you’ll have to gather iron ore. To mine this material you’ll need a stone pickaxe. You can find iron ore at sea level or a little lower, usually in quantities of four or more. The tan and brown flakes scattered along the surface distinguish this material from gravel. Iron ore can also be collected from iron golems but you’ll have to battle them for it.
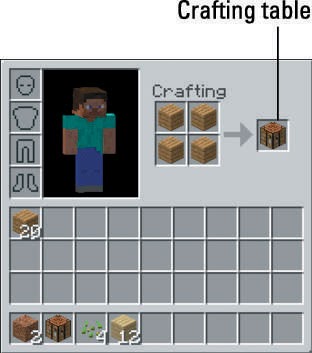
Step 2: Open crafting table
This is the easy part. For the java edition (Pc/Mac), after gathering your materials, press E to open your crafting menu. This will bring up your inventory on the right and the crafting table should be present amongst your items if you’ve already made one.
From there, you’ll need to turn the wood blocks into wood planks. After you’ve done that, you’ll want to drag and drop four wood planks into the crafting grid. Your crafting table will appear in the grey square on the far right.
Now, move that to the bottom bar of your inventory to place it in the world. After you’ve done this, the crafting table will be available for further use.
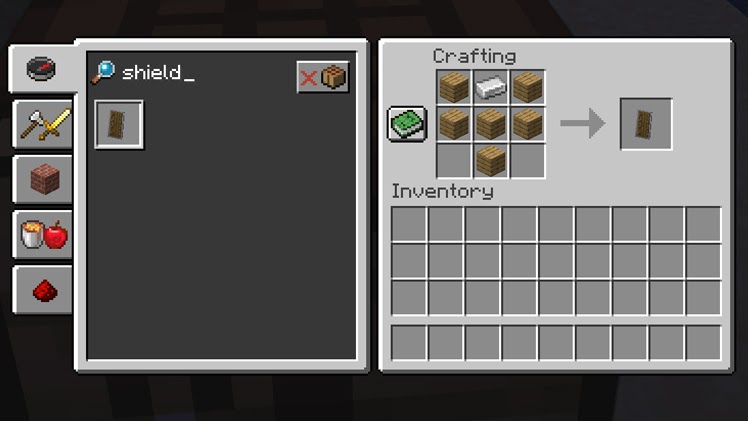
Step 3: Craft shield
Now that you have all of your materials, the only thing that stands between you and your shield is one final craft sequence. For this part, you’ll have to use your handy dandy craft table again. After, opening your inventory and craft menu adds your iron ingot and wood planks the way they are displayed below.
Don’t forget to block!
And there you have it! A shield for the ages. Always remember to equip your shield by dragging it up to the square on the right-hand side of your avatar. Once equipped, your character will block automatically.
Minecraft Crafting Guide
More tips
Latest from Shaun M Jooste
You may also like
 News
NewsColin Farrell made Tom Cruise repeat a scene from Minority Report… up to 42 times!
Read more
 News
NewsThe creator of GTA 6 is very clear that AI will not be able to compete against them
Read more
 News
NewsThat time James Cameron met his idol… and he insisted on analyzing 'True Lies'
Read more
 News
NewsColin Farrell showed up drunk to the filming of 'Minority Report'. Tom Cruise didn't find it funny at all
Read more
 News
NewsSharon Stone defends Sydney Sweeney from all the criticism over the famous jeans ad
Read more
 News
NewsHello Kitty is coming to the movies, and we already know when!
Read more